What kind of personal information is lurking in the inbox of your ‘free’ email account service? Like a lot of folks, you’re probably using a Yahoo, Ymail, Hotmail, or Gmail email service and storing all your emails online at their server. But, should your email account get hacked, that would mean the hacker not only has access to your contact list, but they also have access to your inbox. There’s a way you can stop that by using a free email client like Windows Live mail to download all your mail to your local PC such that it’s not stored on their service. Similarly, you can keep your contact list local instead of on their server.
To be able to use IMAP or POP protocols to download your mail, you’d have to pay for their upgraded services on Yahoo, Ymail and Hotmail. But, if you already have, or if you create a Gmail account, Google lets you download your gmail using either protocol.
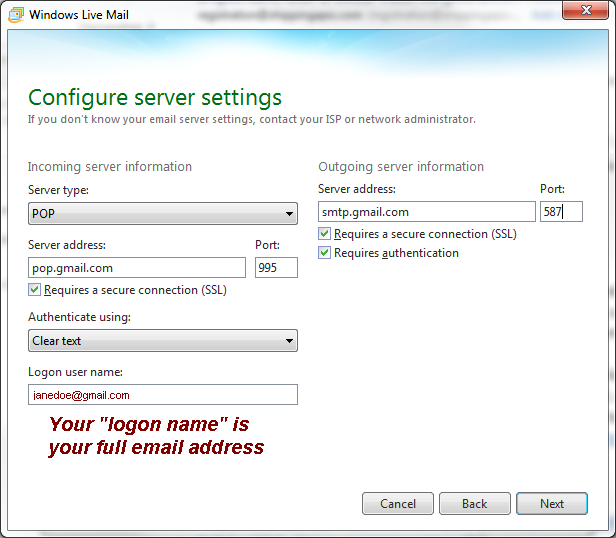
This example below will walk you through setting up a POP connection between Window Live Mail and Gmail so you can store all your mail locally.
Setting up Gmail to enable POP mail
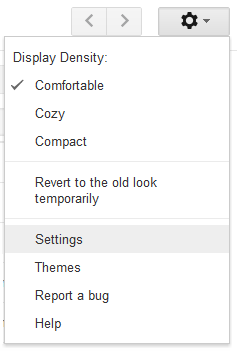
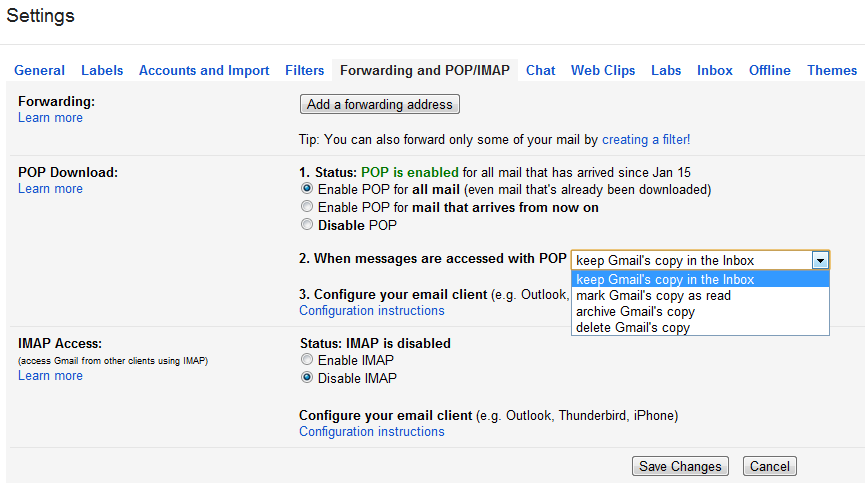
So, do you already have a Gmail account? If not, you’ll need to create a free Gmail account for yourself. Once you have that created and you’re logged in, we’ll need to change one of your gmail settings to allow you to download your maiil to (and for that matter, send mail from) a WindowsLive mail client on your PC.
Setting up your Windows Live Mail client
If you don’t already have WindowsLive Mail already installed, click here to download the installer. Once you’ve downloaded the application, install it.
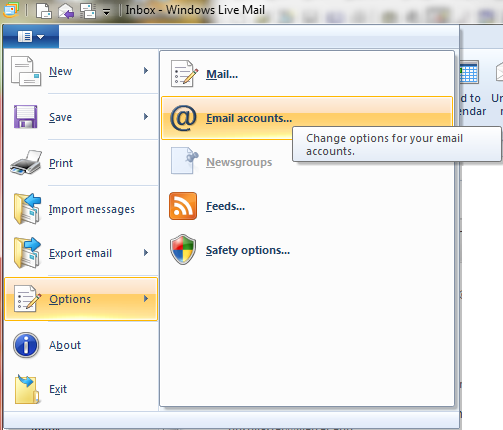
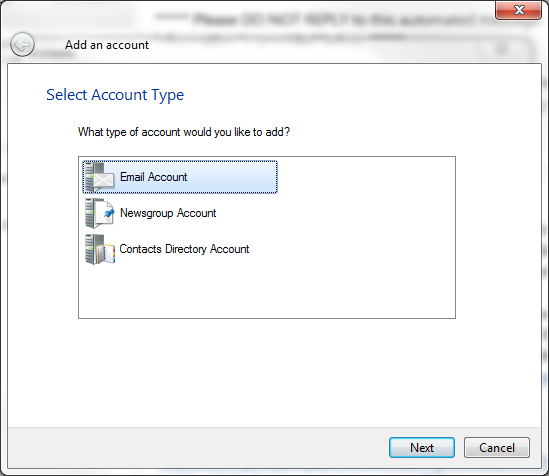
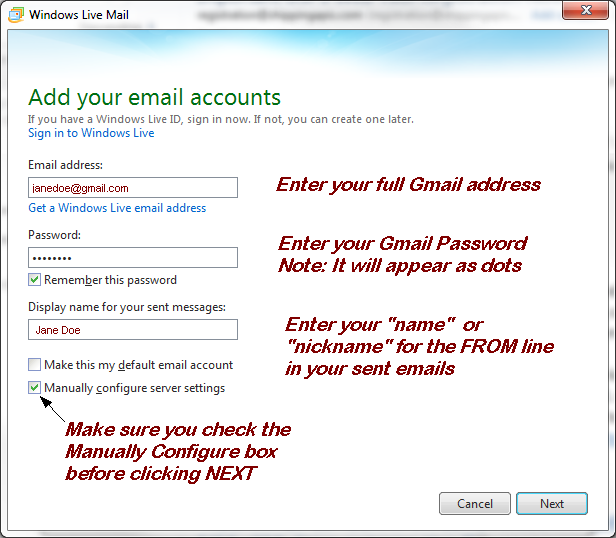
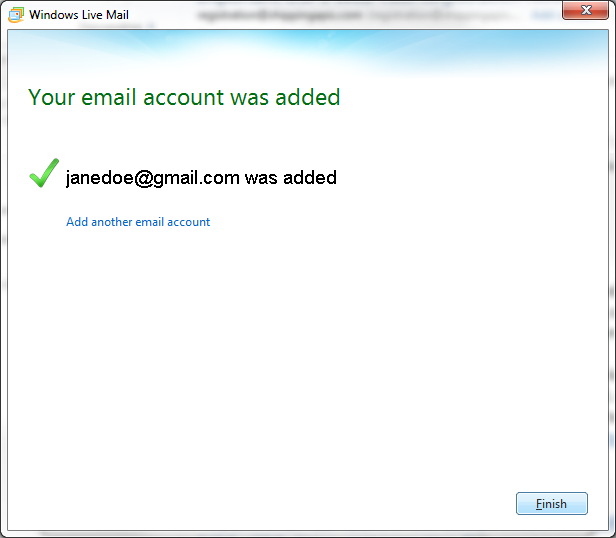
Okay … now, let’s set up your Gmail account in Windows Live Mail.


